Showing posts with label Art Projects. Show all posts

Wednesday, February 6, 2013

It Looked Like Spilt Milk


Today we revisited the book, "It Looked Like Spilt Milk," with Saralina taking charge of the read aloud this time. 

 
This is the perfect book for beginner readers (kindergarten) like her  because the text is repetitive with a limited number of new words. Super job, Saralina! 


After Saralina finished reading us the story, we went outside to check out the clouds for inspiration, then came back in to do our SPILT MILK art project. The little voyagers made their own Spilt Milk mini-books.

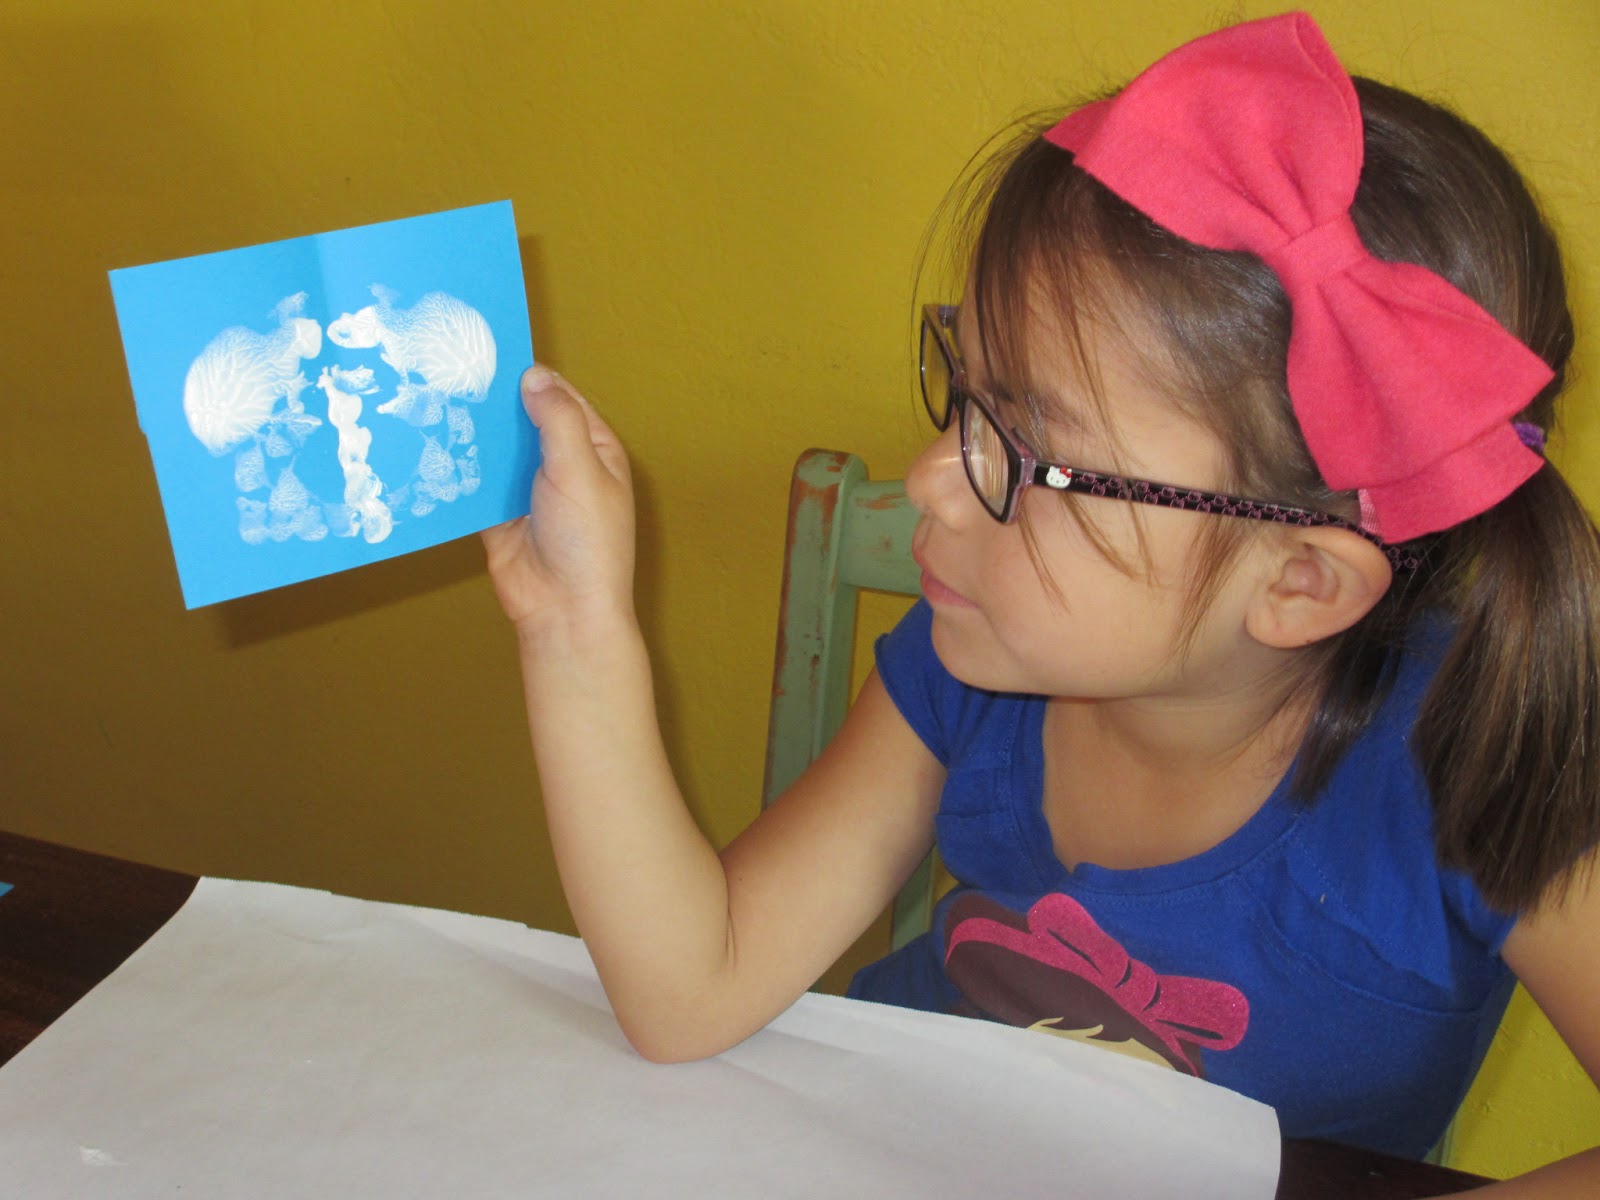
Using blue card stock, white acrylic paint and Q-tips, the little voyagers got to work on their clouds.


 One of Rosetta's Clouds - Is it a star, a butterfly?


Spiderman is happy with how his turned out!

While they were busy painting spilt milk clouds, Mama Voyager typed up the text from the book, leaving blanks for the little voyagers to fill in, once they decided what their "clouds" looked like.


And here are their books, all finished. These turned out so cute, and all three of the little voyagers really enjoyed this activity, especially Spiderman. Because Spiderman is only three, he told me what his looked like and I did the writing for him. Both girls, however, wrote in their own words.

I am sure the little voyagers will be asking to do a similar activity again, and soon!


Tuesday, January 29, 2013

Let's Draw Owls - We Did It!


A few days ago, I posted about using owls (Let's Draw Owls) as a subject for a "directed drawing" activity. Well, we did it! Rosetta had a little experience (in kindergarten) with directed draw. I think her teacher taught the class how to draw trees using this method. Two years later, and she still remembers her teacher's exact reasoning for using the directed draw method. I was impressed! Obviously, she was a  good listener.

Funny that -- I first learned the directed draw method in one of my credentialing classes, but I can't  remember the name of the lady who taught it. All I remember is that we drew parrots.

Anyway, I used the above step-by-step provided by Spittin-Toad, since I don't have any real experience drawing owls - or much of anything, really.


For an even simpler version, this is the owl drawing steps provided in the Legends of the Guardians packet I linked in the original Let's Draw Owls post:


Our materials -- We used brown paper bags (one side, with a handle for hanging) and oil pastels similar to the ones above. To do the initial drawing, we used light colored pencils so they would show up on the brown paper.

 
The Method -- After discussing how important it is to be a good listener and observer, I began the step-by-step drawing. I drew my eyes, then  the little voyagers drew theirs, and so on, until the owl outlines were complete.
 
 
The little voyagers watching, then drawing.


 After the outlines were complete, we used the oil pastels to color them in. (Hm, Spiderman seems to have switched hands to color!)

Here are the finished pieces of art:

This is Rosetta's owl. She added a nest and some eggs to her drawing.


This is Saralina's owl. I love how her owl is looking to the side. 
She added the sun and sky to her drawing.

This is Spiderman's owl. Now, he is only three years-old, so he asked Mama Voyager for some "help," and she obliged, but you can tell this is really "his" owl because it is so colorful, just like Spiderman!

Oh, yes! Almost forgot our newest poem for the week -- another owl poem:
 
The Wise Owl
The wise old owl
Sat in an oak.
The more he saw,
The less he spoke.
The less he spoke,
The more he heard.
Why can't we be like
That wise old bird?

All in all, I think this activity was a great success! This is a great activity to use for developing listening and focusing abilities, which are two skills we are working on this year.


Friday, December 14, 2012

DIY Friday -- Our First Project


Weaving with Nature


A piece of artwork made out of things found in nature.

*     *     *

How to make a Nature Weave:

1. Take a nature walk and gather leaves, sticks, bark, etc.

2. Gather the following materials:
  
Cardboard
String, twine or yarn 
Scissors


3. Sort nature collection.


4. Make a loom.
      a. Cut slits about ½ to 1 inch apart on opposite ends of cardboard
      b. Loop twine up and down over slits


5. Start weaving!
 a. Choose a strong stick to weave first
 b. Weave over, under, over, under…..


 c. Second row, weave under, over, under over…..

    
 d. Continue repeating (b) and (c) until the loom is filled. 

 
Use a strong  stick for the last row.


6. Display your art work.


Choose to take it off the loom, or leave it on LIKE WE DID!

*     *     *

Credits: How-to written by Rosetta, who also took many of the pictures.